Welcome to my life . . . .

This is a blog about my passion: dollhouses and miniatures. This particular blog was started to follow my miniature dream: to create a Victorian Mansion. But work on my Mansion is slow. Very slow. Sloth slow. Ice Age glacier movement slow. Why? Because I am easily distracted by other personal miniature projects (I have 50+ roomboxes and 15 dollhouses in various stages of incompletion) and because I work for a miniature shop and am often up to my elbows in miniature projects that aren't mine! So, I thought, some artists work in a particular medium (woods, watercolors, clay, oils, etc.), I work in progress . . . .
Showing posts with label Celerity. Show all posts

Friday, January 15, 2016

Porch Repair

This Celerity manufactured "Old Homestead" project has been hanging around at work -- a quick and easy porch and shingle repair for a customer.  The dollhouse belongs to her 107 year old mother but it was damaged in moving.  We just did a little repair and it's good to go!

House had several broken or missing shingles, the front porch was completely broken off, most railings were broken to bits, the front door was broken off it's hinge, and some trim pieces were snapped off:
House BEFORE
House AFTER
The front porch was so cute!  I am really glad we were able to salvage it....
Porch BEFORE was in sorry shape
Porch AFTER

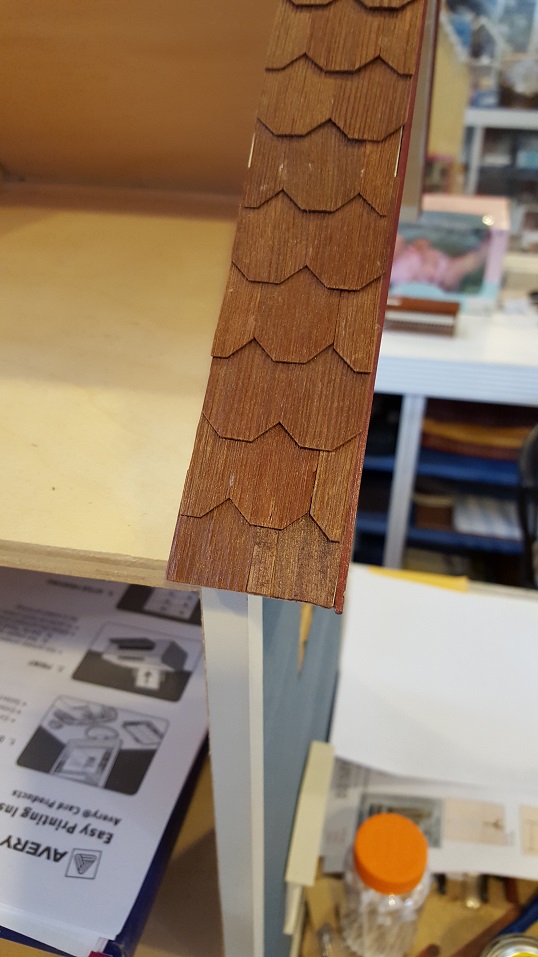
Several shingles on the first row were broken or missing; we replaced them

Eaves BEFORE: so many shingles were missing chunks like this one
Eaves AFTER: All fixed
Side BEFORE: A few broken shingles on the first row
Side AFTER: Shingles are all trimmed up
Waiting for customer to pick up this project and then we're on to the next!


Thursday, July 23, 2015

Revist the Celerity Little Molly

We finished the Celerity Little Molly ahead of schedule making the end of June deadline easily!

However, the customer came in to get her dollhouse and decided she loved the wallpapered rooms so much that she wanted us to wallpaper the other rooms which were only primed and left for her to paint in the future when she had time.  So she picked out a few more wallpapers and I got to work installing those papers, cutting and installing some window trims and some doors, and staining/painting the stairs.

I actually finished this job 2 weeks ago, but a storewide sale and my own personal projects kept me distracted and unable to finish this blog entry!  I keep trying to figure out how I can cram 39 hours of work into the 24 hours God gives me in a day!  So far I haven't had any success with that; then again, I was never a genius at math so I keep trying to make it work.

The top right attic room got wallpapered to coordinate with the left side of the attic:


I tried making a template for the slanted wall that is papered with a white textured liner, but it ended up being easier to just stick the paper in there and cut and fuss with it around the wall divider instead of taking the time to create a template. 

Both hallways were wallpapered and stairs were stained.  Customer loved the wallpaper but we only had three sheets of it for the six walls so we opted to leave the back walls white (which helps them not clash with the other rooms they flow into - on the first floor the back wall goes into the kitchen and on the second floor the back wall is seen along with the bedroom).  But we still had to creatively cut the papers to get the three sheets to cover the four remaining walls:


As you can see in the pictures above, customer also had us paint and install the french door onto the porch (as well as the white door on the front which was seen in previous post pictures).
Lastly, customer really wanted a fireplace in the living room but instead of just gluing the fireplace on the wall like the customer requested, we added a sheet of bricking behind it (with customer's approval) to make it more realistic (otherwise the wallpaper would have been seen in the fireplace insert where the logs would go).

Now, during this time while finishing up these last details on the Little Molly, I have also been working on several personal projects (pot rack, library ceiling, and finishing up the lower cabinets for the Butler's Pantry in the mansion) but none are quite finished yet, but as soon as they are I will be updating you on them!


Saturday, June 20, 2015

Celerity Little Molly

As much as I'd like to spend all my time working on my own projects, I still have customers' projects waiting for me at work.  There have been some quick little fixes (a Glenwood got some electrical installed, a roombox got reinforced with glue and supports, etc.); nothing exciting or worthy of photos.  Until I finished a customer's Celerity dollhouse yesterday!  It arrived in a mostly raw wood state (customer had assembled the structure and she had started to prime and install wiring before bringing it to us).
Exterior
Interior, first level had wiring installed and floor was primed.
There were minor issues with assembly: kneewalls in attic were installed backwards, roof was not flush in the back causing the front roof to not line up correctly, some interior walls were glued next to walls that they should have been glued flush in front of, etc. But this house is for a child and customer did not want to spend a small fortune having us remove everything to re-assemble/glue/nail it back in place correctly.  So we only fixed the top two issues that hindered finishing the house the way the customer wanted . . .
Kneewall was installed with angle facing the wrong way.
Front roof does not line up.
Kneewalls were pried out of the house, nails removed, cut the kneewalls down to fit (due to roof not being glued on properly), swapped sides and reinstall them.  But the front roof had to be removed, the front shaved off (which left a ridiculous 1/8" wide tail at the bottom overhanging which customer elected to have us cut it off), and then reinstalled.
KNEEWALL BEFORE
KNEEWALL AFTER
FRONT ROOF BEFORE
FRONT ROOF AFTER
The interior was to receive some wiring, wallpapers and paint.  One room was getting a chandelier (and the exterior was to get coach lights by the doors).  We primed, installed wiring, installed the wallpapers, and painted where customer desired.
Little Molly BEFORE

Little Molly AFTER

Attic Finished (with kneewalls installed correctly).

Bedroom with painted walls and accent wallpaper on back wall.

Living Room with chandelier.
The exterior had some broken and missing railing for the porches, and it was missing all windows and doors, and the customer wanted more of an "urban" look instead of a "Swiss Chalet" look (as it was pictured in the original instructions) so when picking out windows and color scheme, customer tried to keep it as streamlined and contemporary as possible.  We think the house turned out very cute and I know any little girl would love to play in it!
Little Molly Exterior BEFORE
Little Molly Exterior AFTER